Showing posts with label finger food. Show all posts

Friday, 18 March 2011

The Hello Kitty Post (Part 1)


My daughter is a Hello Kitty fangirl, and she requested a Hello Kitty cake for her 5th birthday this year.

Last year, I made cupcakes for her preschool because I thought that it would be so much easier for the kids to each have a little cake to eat, rather than have the teachers cut the cake and deal with the mess that will inevitably result. Therefore, I thought I'd revive making Hello Kitty cupcakes, but I was inspired by Bakerella's Hello Kitty Cakepops to try that instead.

So what are cakepops? It's simply a word combination of cake+lollypop. Cake is crumbled and frosting is added as a binding to keep the cake together. It's then fashioned into a shape and put on a lollypop stick before dipping into a candy coating so that the cake is encased and the shape is retained.

Sounds simple, doesn't it? And you know what? It really is as simple as it sounds.

A few things to note though:

1. The cake to use ought to be one that's crumbly in nature. Dense and crumbly works better than light and fluffy cakes.

2. The cake pops works better if the room temperature is cool. Almost half of my Kitty pops melted by the time I got to my daughter's preschool. The good news is that I managed to salvage them by refrigerating the cakes; the bad news is that I wasn't able to do it at the school.

3. The candy coating that I used (Wilton) is thick. Thick isn't good for coating because its harder for the candy to drip off the cake. I learnt from a Phoon Huat staff to thin the candy with cocoa butter. I read that the candy coating could be thinned with shortening or even cooking oil, but I used cocoa butter.

4. Chocolate coating is the easiest coating to use because of its texture.

5. Freezing the pre-coated cakepops is an essential step. The frozen temperature helps the coating set more quickly, and the cake retains its shape better because of the frozen frosting in them.

6. The shorter lollypop sticks are more stable than the long ones. The cakes on the short ones are less likely to break apart.

Anyway, here are some of the pics from my attempt at my Hello Kitty Cakepops.

'Naked' Kitties. The choc chips helped shaped the ears after dipping.

Poor blind kitties... I was waiting for the candy coat to dry before drawing in the eyes.


Transporting them. You can see that they were already starting to melt in the sun. :(

The hardest part of making cakepops, I discovered, is in displaying them. I didn't want to go out to buy a styrofoam just for the cakepops, so I used an old disposable sushi tray and a soldering iron to put holes in them. I experimented with a holder of sorts under the tray, but I found in the end that it was much less hassle to just let the cake pops hang down the holes.

I used an upturned stand to allow the sticks to hang down, but display the cakepops well.

A closer look at the kitties. :)

Besides Kitties, I tried making other cake pops to vary it. Besides, I noted from my sons that the boys weren't likely to eat Kitty, so I made 'gender-neutral' cakepops like cupcake cakepops and lollypop cakepops. Heart-shaped cakepops were easy to make too.
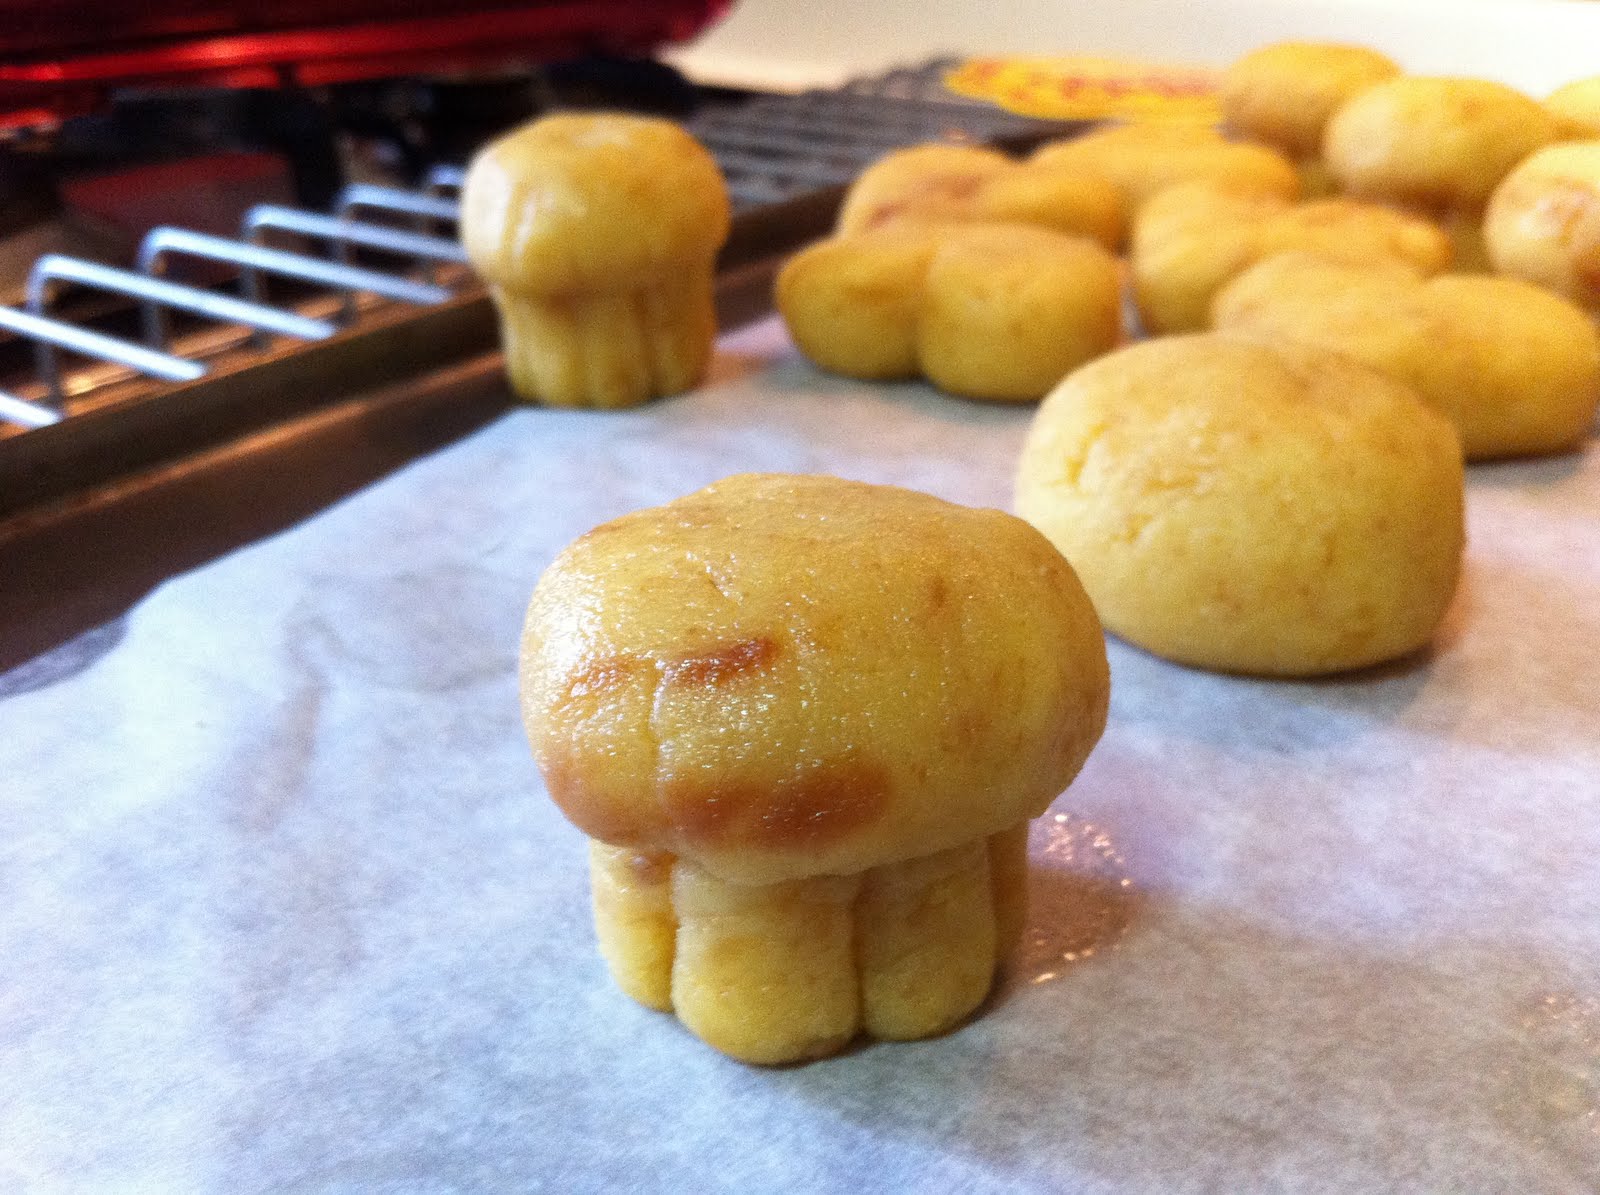
Naked cupcakes. I used a skewer to make the indents on the base of the cake.
Completed cupcakes. These were sooooo much easier to make than the Kitties. lol!

The kids really enjoyed the cakepops, but I think it was partly the novelty of it all.
Chocolate coated heart

Lollypop studded with M&Ms... and a half-eaten cupcake

Fairy-sprinkled lolly

Heart and fairy-dust lolly, with a Kitty cakepop in the back.

Friday, 30 November 2007

Banana Balls or Jemput Jemput Pisang or Cekodok Pisang


The hubby had a craving for banana balls... and I had over-ripe bananas with a wish to be made into anything other than banana cake or remaining a fruit. So after a thorough search online for banana balls, I finally found it in Mama Fa Mi's fotopages.

I've modified her recipe a little, especially since the bananas I had were very sweet and the amount was way more than her 3 ripe bananas. That said, this is really a recipe for the impatient cook - it takes less than 5 minutes to get the preparation done and all it takes is to fry up the banana balls.


Ingredients:
350g ripe bananas, mashed
1 1/2 cup flour
1 1/2 tbsp milk powder
3/4 tsp Baking powder
2 tbsp Sugar
1/4 tsp Salt
Oil for frying

Method:
1. Sift flour, baking powder and milk powder.
2. Mix the mashed banana, sugar and salt well.
3. Add the dry ingredients to the banana mix. Make sure that the overall mixture is neither too dry nor too wet.


4. Heat the oil and drop tablespoonfuls of the mixture into it. Once the batter balloons and turns a golden brown, scoop it up and drain it well.


5. Enjoy!


It's a heavenly taste - wonderful bite of banana, soft, yet chewy in texture. And it I mention that it's so simple to make? *g*

Monday, 23 July 2007

Brenda's Bergerdils

Otherwise known as potato patties, these Bergerdils are easy to make and oh-so-yummy! The addition of chopped onions into the patties give these little potatoes a nice kick.

Brenda's Bergerdils
Ingredients

3 largish Russet Burbank potatoes (steamed and peeled)
3 1/2 tbsp dried shrimps (washed, blended, and fried with a very little amount of oil)
1onion, chopped
1 egg
1/2 tsp pepper
3 pieces of cream crackers, crushed (I use Hup Seng brand, and they come in packs of 3 crackers. See pic below.)


1 egg beaten with 40ml water for coating
Oil for deep frying

Method
1. Mash the potatoes and leave them to cool. You don’t have to mash them especially fine.
2. Throw in the dried shrimps, onion, crushed cream crackers (hey, alliteration! *g* I just smash the packet around and throw in the crushed crumbs into the mix), egg and pepper into the potato and mix the lot well. The ingredients flavour the potato enough that you do not have to add any more salt.
3. I like even-sized bergerdils, so I weigh them to about 50g and shape them into flattened balls. It helps in shaping if your hands are slightly wet, so after shaping about 3 or 4 bergerdils, I wash my hands to wet them. If you're making these as finger food, weigh them in at about 30g to make smaller bergerdils.

4. In a wok or pan, make sure the oil reaches about half the height of the bergerdil. Since most of the ingredients of the bergerdil cooks rather fast, the idea is to brown the bergerdil, rather than to deep fry them.
5. Dip the bergerdil into egg mixture and fry till golden brown.

6. Once removed from the wok, let the bergerdils cool on a wire rack to retain most of its outer crisp. You can eat the bergerdil warm or at room temperature (although I love eating them warm).


Bergerdils make excellent party food because they can be made in advance and warmed up before serving. And who doesn't love fried potatoes? heh

Tuesday, 10 July 2007

Watercress And Honey Agar-Agar


I had a glass of Watercress and Honey drink for the first time in a restaurant that specialised in Macau food. For the first time ever, I dawned on me that watercress, a veggie that almost only appeared in a savoury soup, could be enjoyed in a sweet drink.

The second time I had Watercress and Honey was in June this year. Edna absolutely loved the drink, and I thought to recreate it at home.

The quantities for the drink is just a suggestion - I suppose it's more to do with 'taste' than a hard and fast rule. Also, I really went by feel in this first try.

Watercress and Honey Drink
Ingredients:
1 bunch watercress, roots removed
5 red dates
1/4 cup rock sugar
Honey to taste
3-4 litres of water

Method:
1. Simmer the entire lot in a large pot for about 1 hour.
2. Pour the golden coloured liquid through a sieve.
3. The drink can be drunk either hot or iced. (I love it hot, but everyone else loves it iced.)

Because I made so much of the drink, I used 1.5 litres of it to make Agar-Agar. It was lovely because it wasn't too sweet.

Watercress and Honey Agar-Agar
Ingredients:
1.5 litres Watercress and Honey drink
15g Agar-agar strands

Method:
1. Boil the two ingredients together until the agar-agar strands dissolve.
2. Pour into jelly moulds and place the agar-agar into the refridgerator to set.

Both the drink and the agar-agar are lovely on hot, hot days. They'll cool you from inside out!

Saturday, 24 March 2007

The Finger Food Post

Edna celebrated her first birthday recently (Has it really been a year? *whew*), and we had a party at home for her. Well, the party was in her name, but I suppose it's more a party for the other members of the family because the guests were invariably Noel's friends or Ethan's pals. Edna took it all rather well, though. She had lots of chickpeas to munch on, so she didn't mind the crowd ooh-ing and aah-ing over her antics. *grins*

So, party food!

This is certainly an easy-to-make finger food that can be made in advance. All it requires to be ready is to be popped into the oven and heated up before serving.


Bacon Wrapped Quails' Egg

Ingredients:
Bacon Slices
Quails' Eggs
Cheddar Cheese
Cucumber

Method:
1. Boil Quails' Eggs so that they become hard boiled. Shell the eggs and put them aside.
2. Slice the cucumbers thick, then cut them into half. The cucumbers are meant to act as a base to hold the skewered bacon roll in place.
3. Slice the Cheddar Cheese, and cut the slices about the size of the egg.
4. Wrap a bacon slice around the egg and cheese, skewering the bacon with a toothpick. (See picture above)
5. Push the toothpick through the bacon wrapped egg into a slice of cucumber like so:
6. When required, put the bacon wrap into the oven at 200 deg C for about 10 to 15 minutes, or until the bacon sizzles and the cheese melts.
7. Serve hot!

And yes, before you mention it, this isn't exactly a healthy food item. *winks*
But it's a party, and it's a treat.


A healthier version of the bacon roll would be the cocktail sausages. This is another finger food item that can be made in advance of parties since it's served cold.


Cocktail Sausages
Ingredients:
Chicken Cocktail Sausages
Cheddar Cheese
Canned Pineapple
Cucumber

Method:
1. Cut cucumber into small cubes, removing the seeds. Likewise, cut the cheese and pineapple slices about the same size of the cucumber.
2. Skewer the ingredients together with a toothpick.

Voilá! Enjoy!

Wednesday, 14 February 2007

Macaroni and Cheese Cupcakes

This is a new twist on an old favourite - Mac 'N Cheese in Cupcakes!

This recipe is fabulous because you can make the macaroni and cheese in advance, and pop them into the cupcakes and into the oven when needed. It's a great party food for both kids and adults.
Mac 'N Cheese in Cupcakes

Ingredients:
2 cups milk
2 tbsp plain flour
1 1/2 cup grated Cheddar cheese (separate into 1 cup and 1/2 cup)
1/2 cup grated Mozzarella cheese
200g elbow macaroni, cooked and drained

Method:
1. Preheat oven to 180ºC.

2. In a saucepan, dissolve flour to 1 cup of milk, stirring constantly until all flour lumps have dissolved. Add the remaining milk, stirring thoroughly.

3. Place saucepan on stove and simmer 15 minutes, stirring occasionally, until sauce thickens. (This is a Bechamel base; a typical 'white sauce' base for most pasta dishes.)

4. Add in the 1 cup of Cheddar and 1/2 cup of Mozzarella into the saucepan and stir until the sauce is blended. Add more milk if sauce is too thick; more grated cheddar if sauce is too thin. (You can add more cheese if you like it cheesier).

5. Add macaroni, stirring gently to coat well.

6. Line muffin tin with paper muffin cups and place one scoop of mac and cheese mixture into each muffin cup. Top with reserved 1/2 cup grated Cheddar. Bake for 15 minutes or until golden brown. Let cool for 5 minutes before serving.

-OR-

6. Coat oven-safe dish with butter or oil and scoop mac and cheese mixture into the dish. Top with reserved 1/2 cup grated Cheddar. Bake for 15 minutes or until golden brown. Let cool for 5 minutes before serving.

OPTIONAL:
1. Add sliced button mushrooms or diced ham or bacon or french beans to give zest to the dish.
2. Top off with a dash of paprika, and dried basil or oregano.


I usually add the spices to give the cupcakes more 'colour'. I've made the Mac 'N Cheese Cupcakes for Ethan's birthday party and the kids love it. I made 2 versions - plain (which the kids love) and with button mushroom (which their parents love). Just allow about 5 minutes more in the oven if made in advance and taken out cold from the fridge.