 My daughter is a Hello Kitty fangirl, and she requested a Hello Kitty cake for her 5th birthday this year.
Last year, I made cupcakes for her preschool because I thought that it would be so much easier for the kids to each have a little cake to eat, rather than have the teachers cut the cake and deal with the mess that will inevitably result. Therefore, I thought I'd revive making Hello Kitty cupcakes, but I was inspired by Bakerella's Hello Kitty Cakepops to try that instead.
So what are cakepops? It's simply a word combination of cake+lollypop. Cake is crumbled and frosting is added as a binding to keep the cake together. It's then fashioned into a shape and put on a lollypop stick before dipping into a candy coating so that the cake is encased and the shape is retained.
Sounds simple, doesn't it? And you know what? It really is as simple as it sounds.
A few things to note though:
1. The cake to use ought to be one that's crumbly in nature. Dense and crumbly works better than light and fluffy cakes.
2. The cake pops works better if the room temperature is cool. Almost half of my Kitty pops melted by the time I got to my daughter's preschool. The good news is that I managed to salvage them by refrigerating the cakes; the bad news is that I wasn't able to do it at the school.
3. The candy coating that I used (Wilton) is thick. Thick isn't good for coating because its harder for the candy to drip off the cake. I learnt from a Phoon Huat staff to thin the candy with cocoa butter. I read that the candy coating could be thinned with shortening or even cooking oil, but I used cocoa butter.
4. Chocolate coating is the easiest coating to use because of its texture.
5. Freezing the pre-coated cakepops is an essential step. The frozen temperature helps the coating set more quickly, and the cake retains its shape better because of the frozen frosting in them.
6. The shorter lollypop sticks are more stable than the long ones. The cakes on the short ones are less likely to break apart.
Anyway, here are some of the pics from my attempt at my Hello Kitty Cakepops.

'Naked' Kitties. The choc chips helped shaped the ears after dipping.

Poor blind kitties... I was waiting for the candy coat to dry before drawing in the eyes.

Transporting them. You can see that they were already starting to melt in the sun. :(

The hardest part of making cakepops, I discovered, is in displaying them. I didn't want to go out to buy a styrofoam just for the cakepops, so I used an old disposable sushi tray and a soldering iron to put holes in them. I experimented with a holder of sorts under the tray, but I found in the end that it was much less hassle to just let the cake pops hang down the holes.
I used an upturned stand to allow the sticks to hang down, but display the cakepops well.

A closer look at the kitties. :)
Besides Kitties, I tried making other cake pops to vary it. Besides, I noted from my sons that the boys weren't likely to eat Kitty, so I made 'gender-neutral' cakepops like cupcake cakepops and lollypop cakepops. Heart-shaped cakepops were easy to make too.
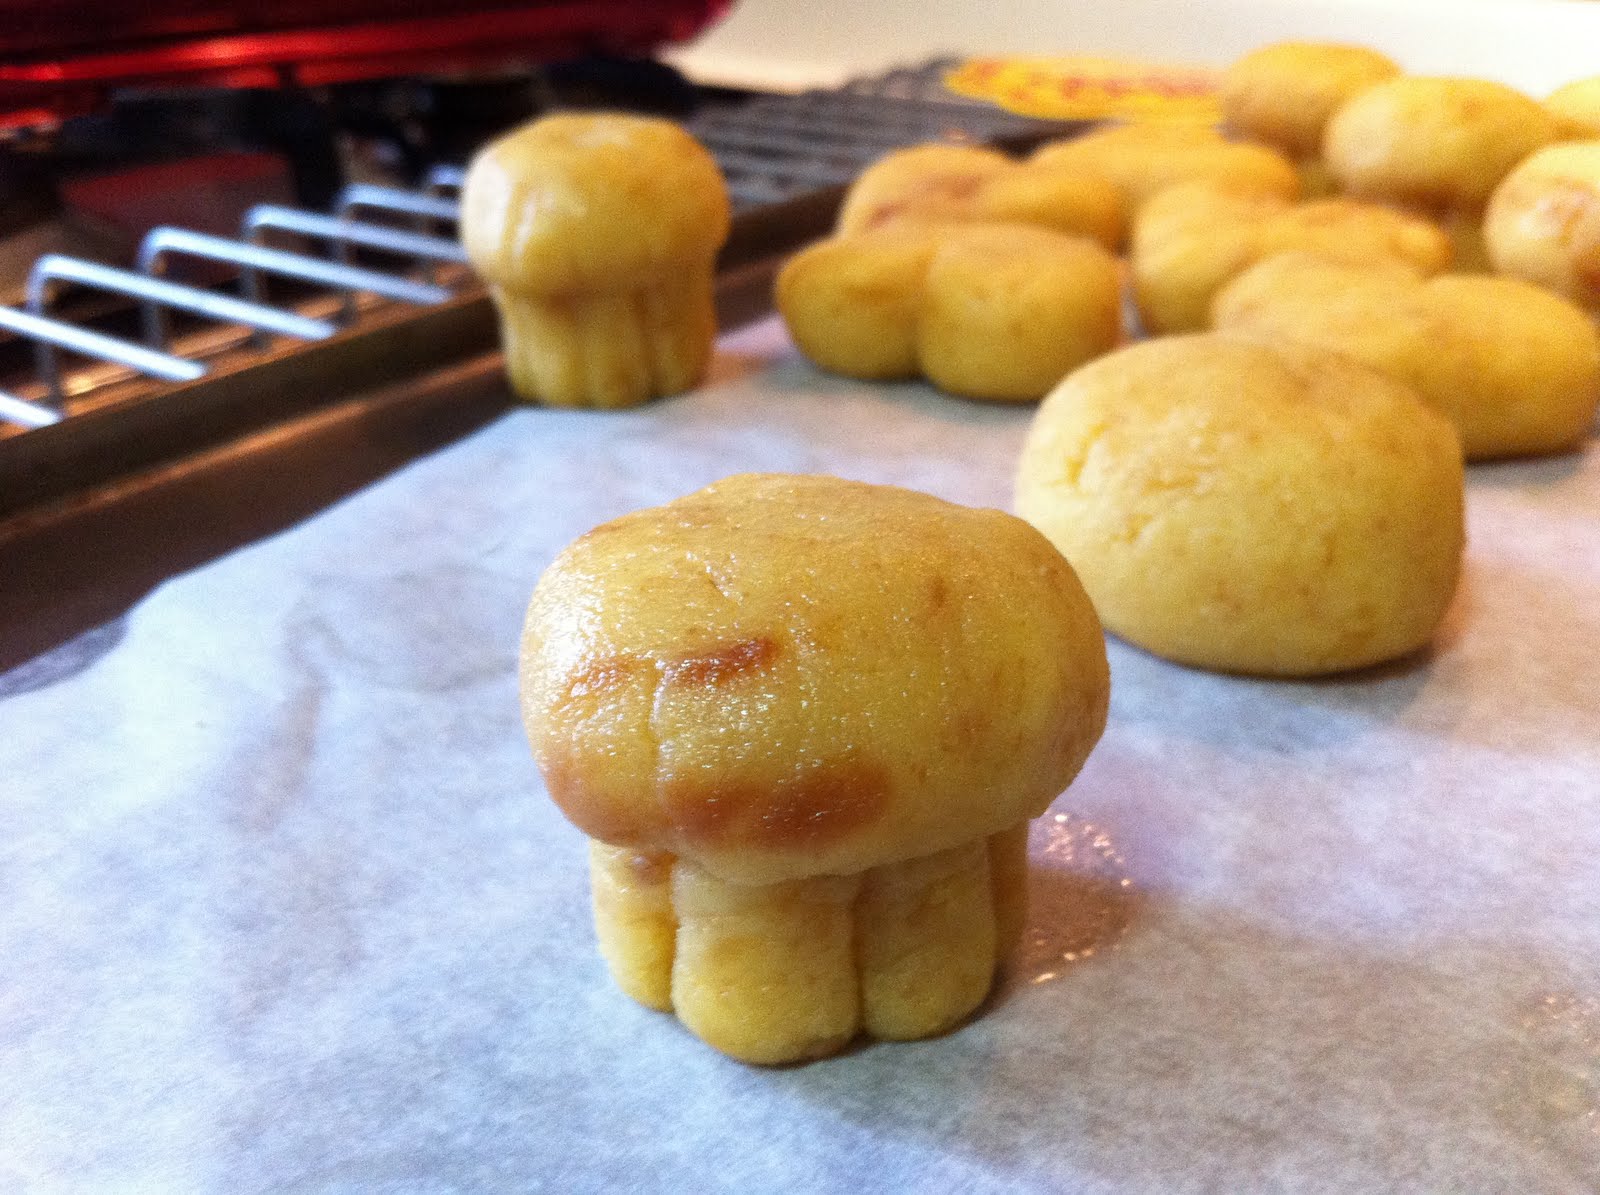
Naked cupcakes. I used a skewer to make the indents on the base of the cake.

Completed cupcakes. These were sooooo much easier to make than the Kitties. lol!
The kids really enjoyed the cakepops, but I think it was partly the novelty of it all.

Chocolate coated heart

Lollypop studded with M&Ms... and a half-eaten cupcake

Fairy-sprinkled lolly

Heart and fairy-dust lolly, with a Kitty cakepop in the back.
4 comments:
love love love!!!!! you rock!!!!!
It's all Bakerella! =) Her cakepops are amazing! Mine are a faint copy of hers. ;)
wait till i have kids.. i'll be making all kinds of crazy cake pops.. lol..
LOL! Don't wait until then - adults enjoy them as much, if not more! ;P
Post a Comment